Manage Product Mappings
QuickBooks Sync allows you to manage product mappings between your Shopify store and your QuickBooks Online account.
This article shows you how to edit, create, and delete product mappings.
Functionality
Product mappings connect your products in Shopify to the corresponding products in QuickBooks Online. These mappings are automatically created for products when they are involved in orders that are exported over via QuickBooks Sync or when a product import is performed in QuickBooks Sync.
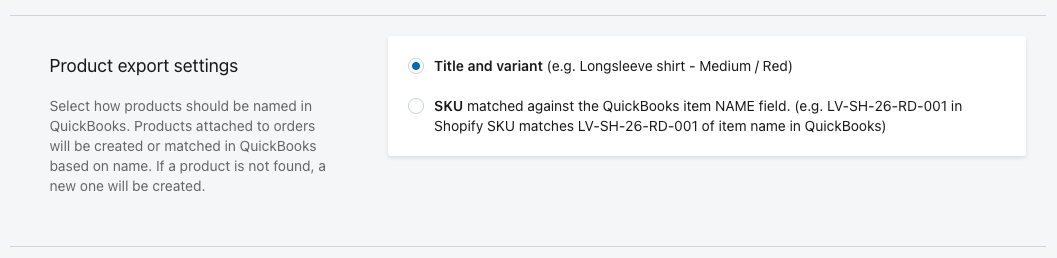
In QuickBooks Sync, you can map products from your Shopify store to your QuickBooks Online account in either of the following two ways:
Title and variant - Products are mapped from Shopify using title and variant to a product in QuickBooks Online that also uses the title and variant (i.e., Shirt - Red in Shopify would map to a product titled Shirt - Red in QuickBooks Online).
SKU matched against the QuickBooks item NAME field - Products are mapped from Shopify using the SKU field to a product in QuickBooks Online that has the same SKU as the product title (i.e., SH-Red in Shopify would map to a product titled SH-Red in QuickBooks Online).
This setting can be changed in QuickBooks Sync under Settings > Product export settings.
Note: If you would like to map products by SKU, please speak to a member of our Customer Success team so we can enable this setting for you.
If QuickBooks Sync is not able to locate an existing product using the setting chosen in the Product export settings, a new product is created as a non-inventory type and will be mapped to that product going forward, unless the mapping is edited.
Edit an existing mapping
If you notice that a product from Shopify is not mapped to the correct product in QuickBooks Online, you can edit the existing mapping to correct this.
From your Shopify admin, open QuickBooks Sync.
Click Manage mappings from the homepage or Mappings in the left menu.
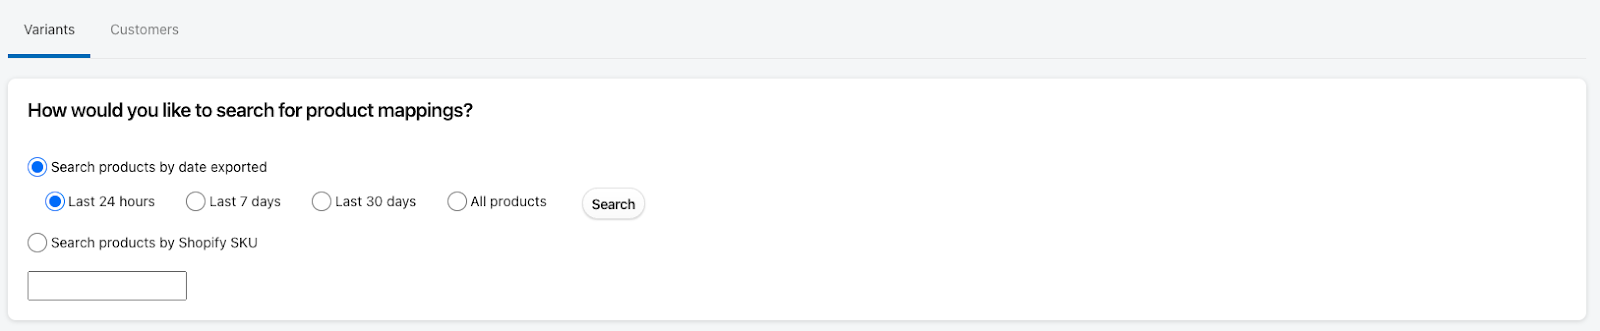
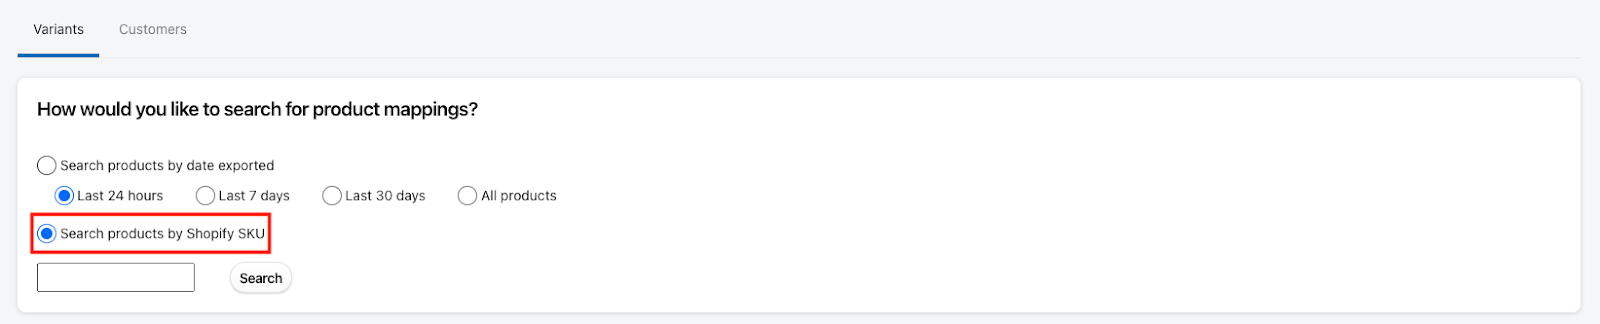
Choose how you would like to search for a product mapping by selecting a filter.
Click Search.
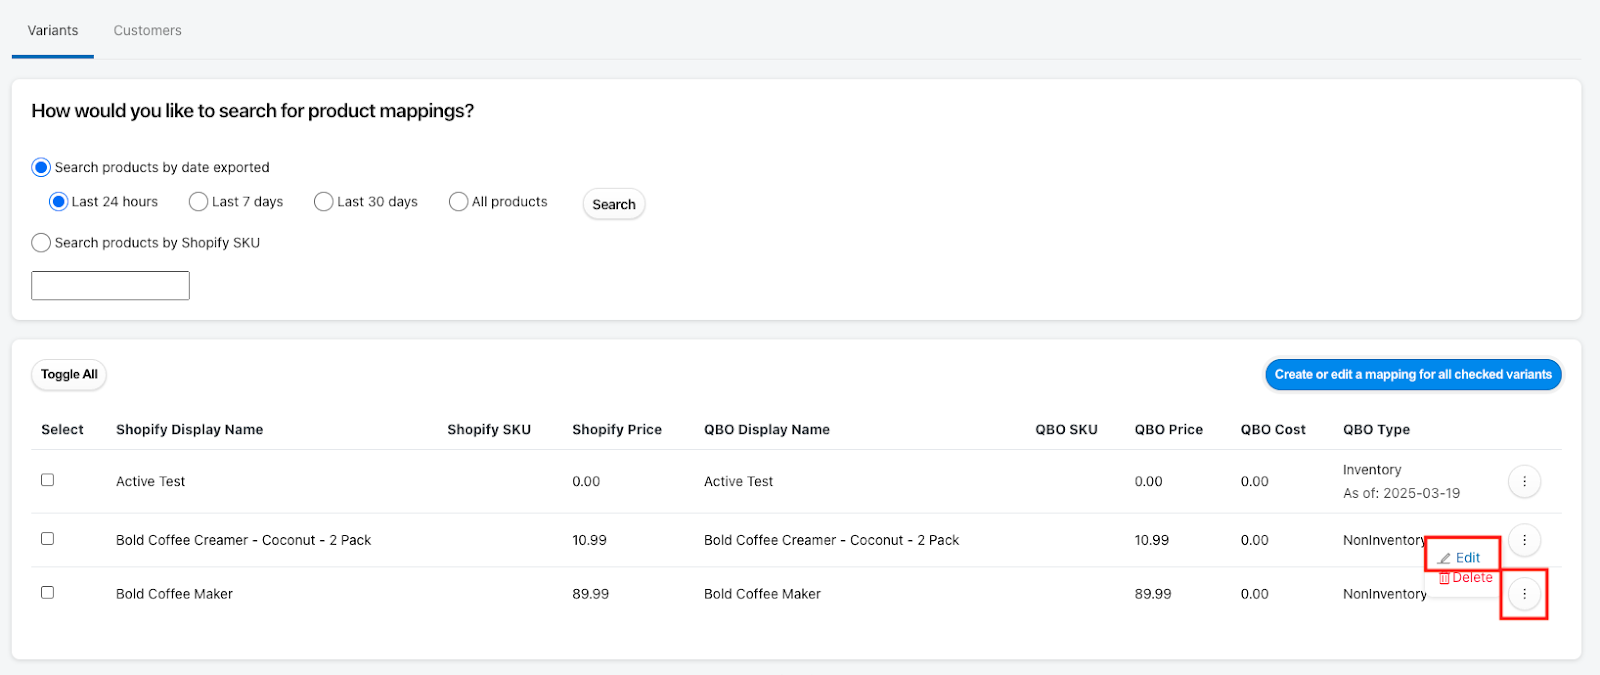
In the search results, find the product mapping you would like to edit, click on the ellipsis (3 dots), and then select Edit.
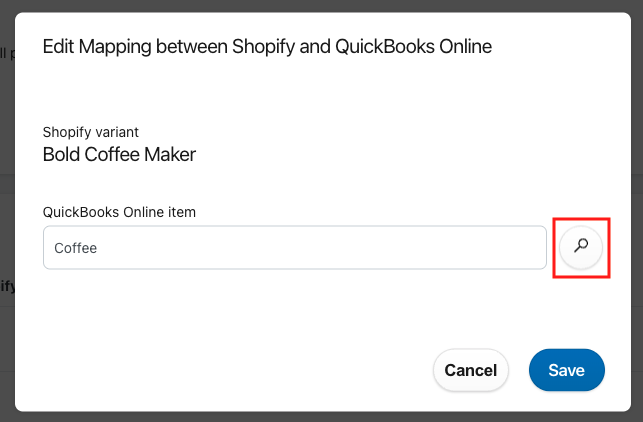
Enter the title of the product from your QuickBooks Online account that you would like to map the selected product to, then click the magnifying glass.
Choose a product in the dropdown results, then click Save.
Create a new mapping
If you want to map products before performing an export, then you can create a new mapping in QuickBooks Sync.
From your Shopify admin, open QuickBooks Sync.
Click Manage mappings from the homepage or Mappings in the left menu.
Select the Search products by Shopify SKU search filter.
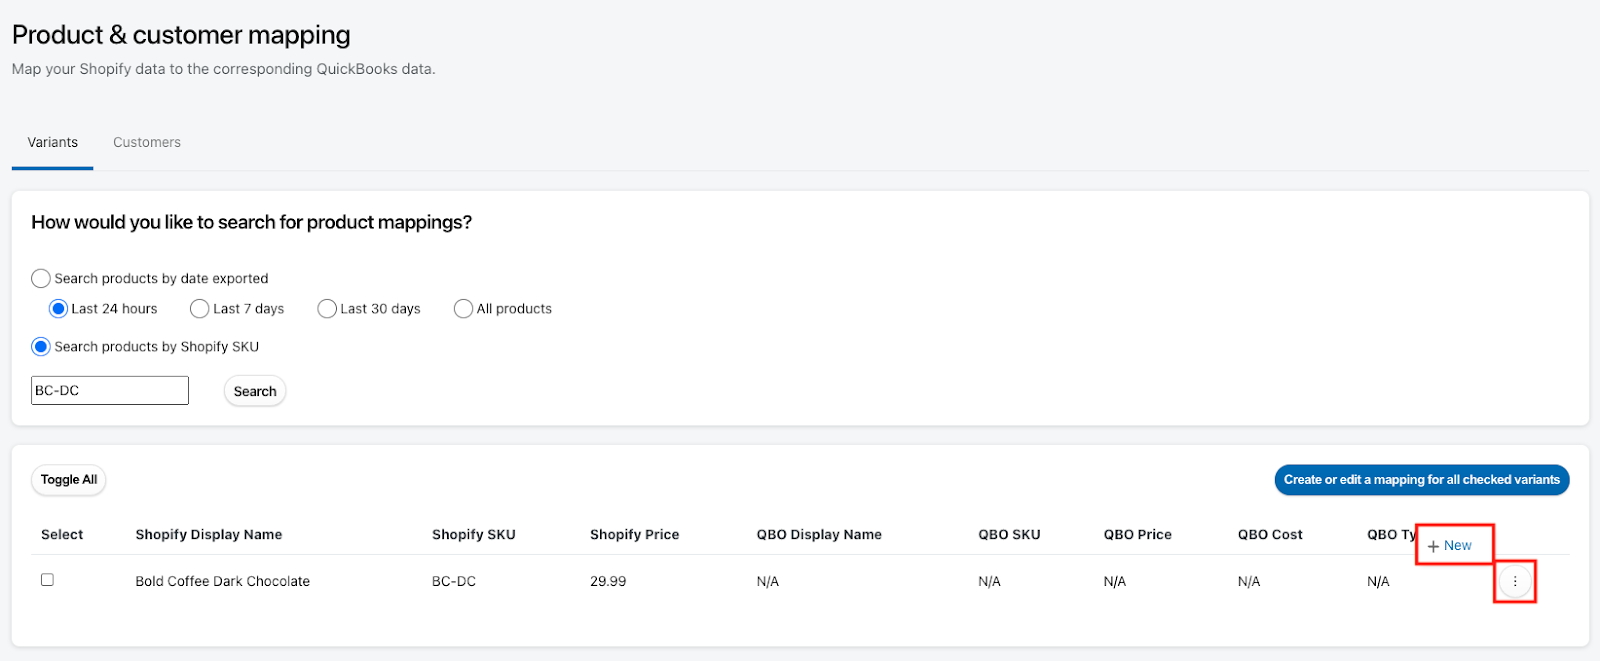
Enter the SKU of your product, then click Search.
In the search results, click on the ellipsis next to the unmapped product, then click New.
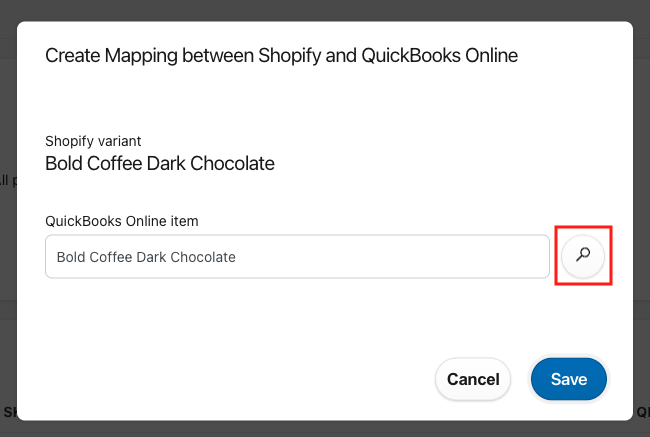
Enter the title of the product from your QuickBooks Online account that you would like to map the product to, then click the magnifying glass.
Choose a product in the dropdown results, then click Save.
Delete a mapping
You do not need to delete a product mapping in order to edit it. However, if a product shares a mapping with another product, you may want to delete the mapping and have QuickBooks Sync create a new product in your QuickBooks Online account the next time that the product is exported with an order, or you can create the mapping manually.
To delete a product mapping, please follow the steps below.
From your Shopify admin, open QuickBooks Sync.
Click Manage mappings from the homepage or Mappings in the left menu.
Choose how you would like to search for a product mapping by selecting a filter.
Click Search.
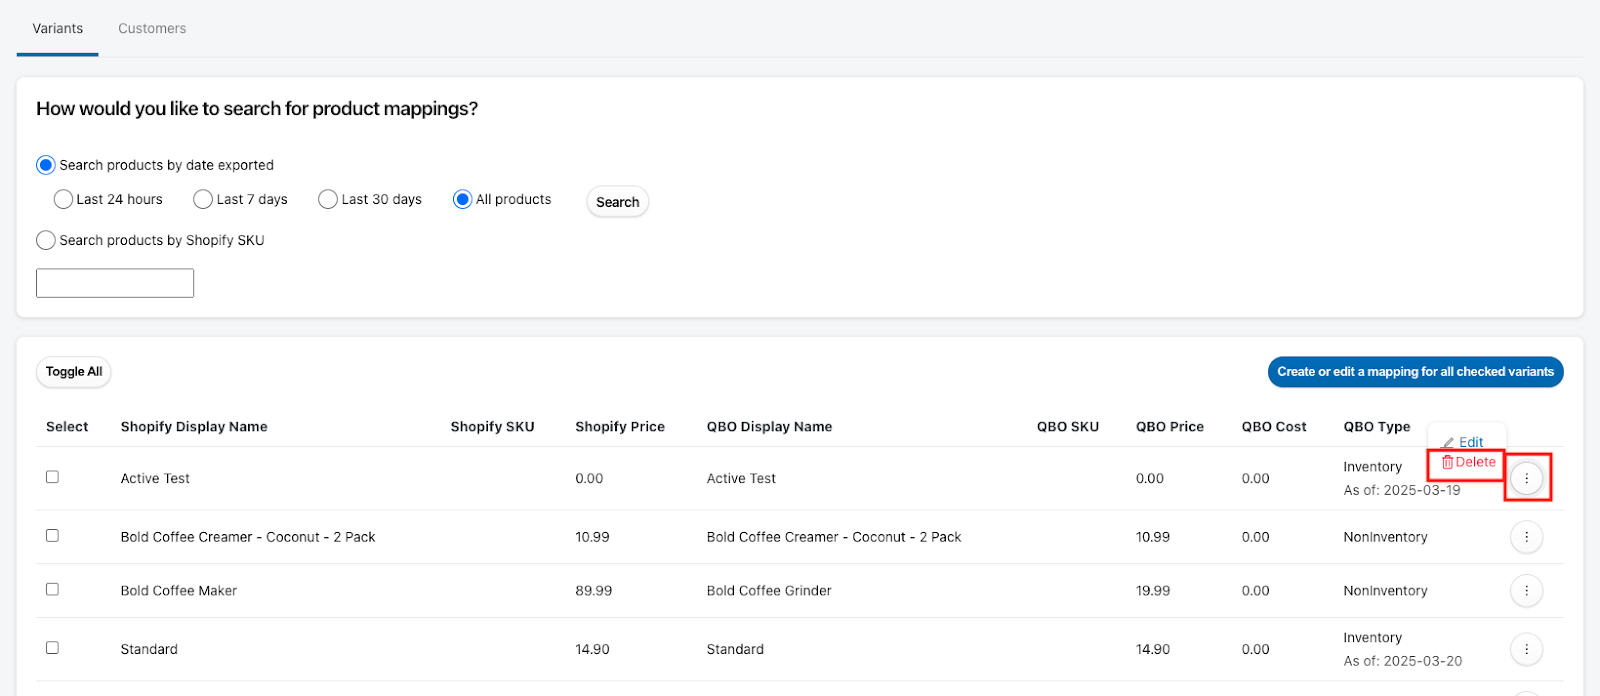
In the search results, find the product mapping you would like to delete, click on the ellipsis, and then click Delete.