Installation Guide for Bold Discounts
Bold Discounts does not require an install to place your products on sale—it works right out of the box. The installation steps for the Sales Icon, Sales Clock, and Duplicate & Hide are optional and only necessary if you wish to use these features from Bold Discounts.
Note: The Duplicate & Hide installation is only necessary if you wish to offer exclusive discounts in Bold Upsell offers. For more information about the Discounts and Upsell integration, please visit Bold Discounts Integrations.
Sales Icon
You can add the sales icon to both your product pages and collection pages. Use the instructions below based on where you would like to show the sales icons.
Install the Product Page Sales Icon
From your Shopify admin, navigate to Online Store > Themes.
Click on the Customize button beside the theme you would like to add the sales icon to.
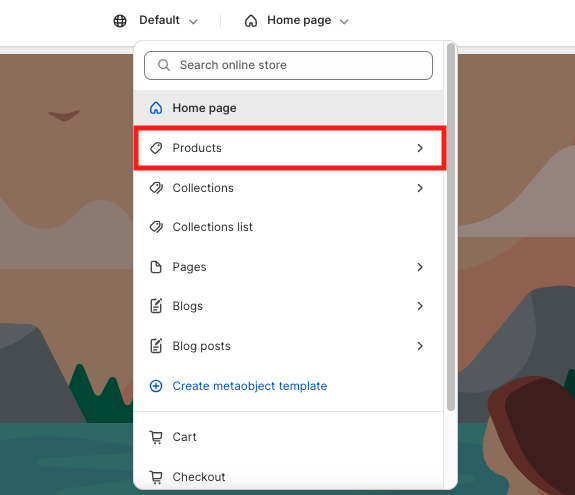
From the theme editor page selector, select a product template.
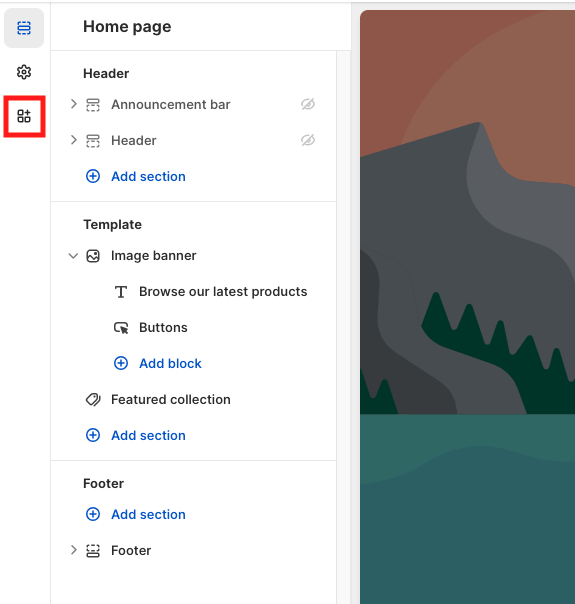
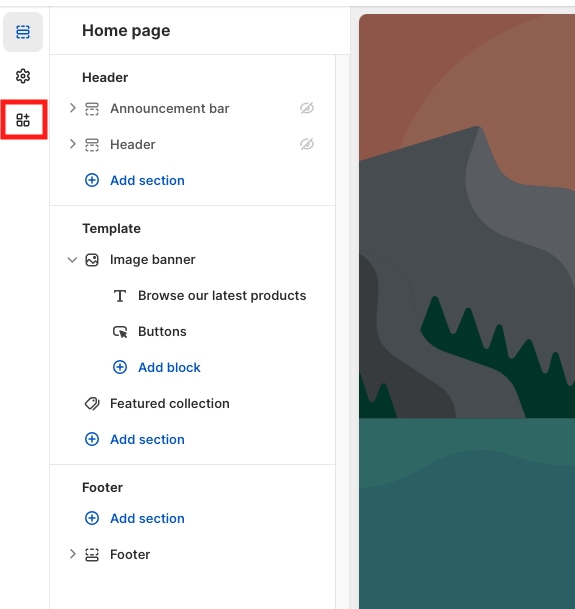
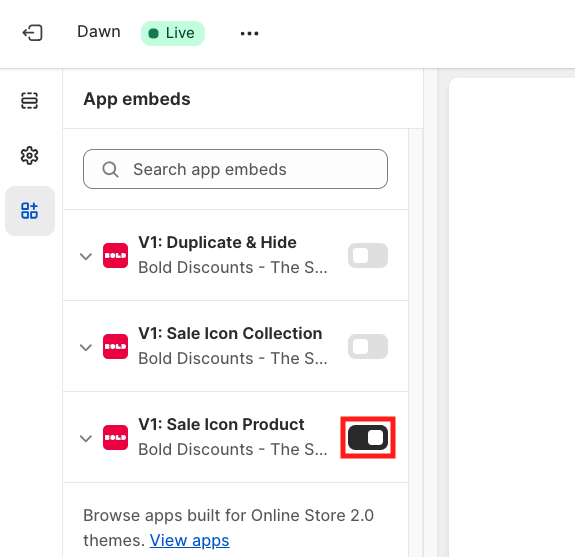
Click App embeds from the left sidebar.
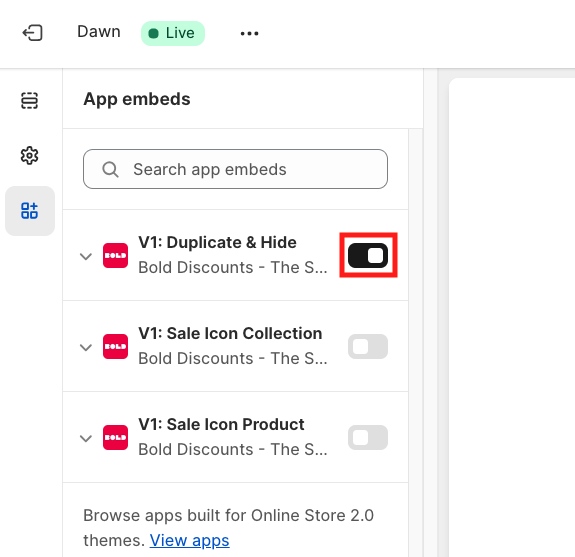
Enable the V1: Sale Icon Product app embed for your theme by sliding the toggle to the right.
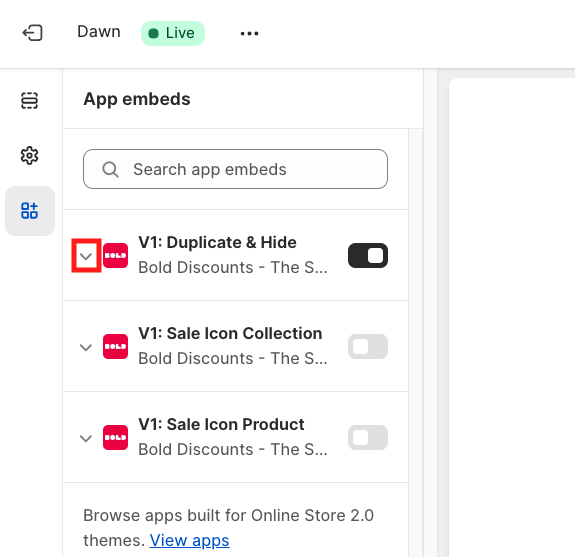
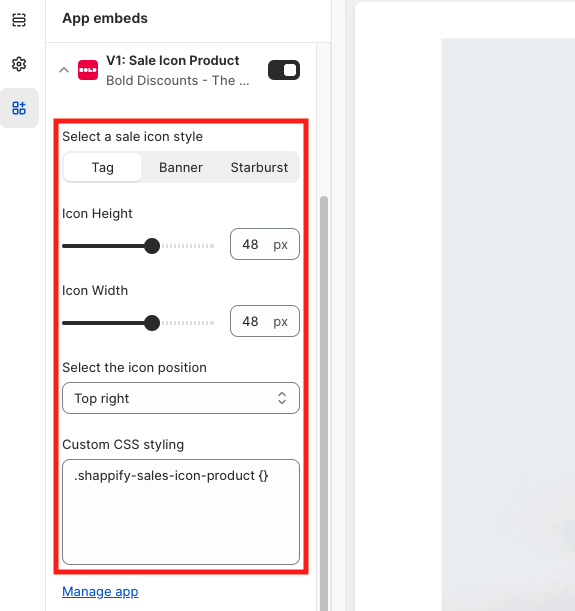
Optional: Click the arrow next to V1: Sale Icon Product to expand the settings and customize your sales icon as needed.
Note: For more details, please visit Customize Sales Icons and Clock in Bold Discounts.
Click Save.

Install the Collection Page Sales Icon
From your Shopify admin, navigate to Online Store > Themes.
Click on the Customize button beside the theme you would like to add the sales icon to.
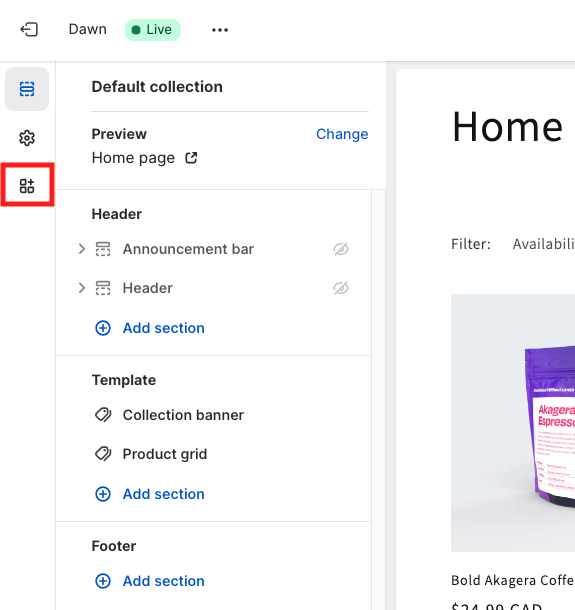
From the template menu, select a collection template.
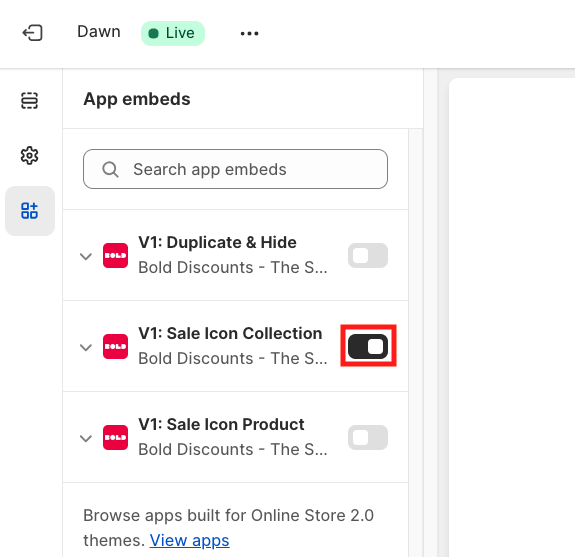
Click App embeds from the left sidebar.
Enable the V1: Sale Icon Collection app embed for your theme by sliding the toggle to the right.
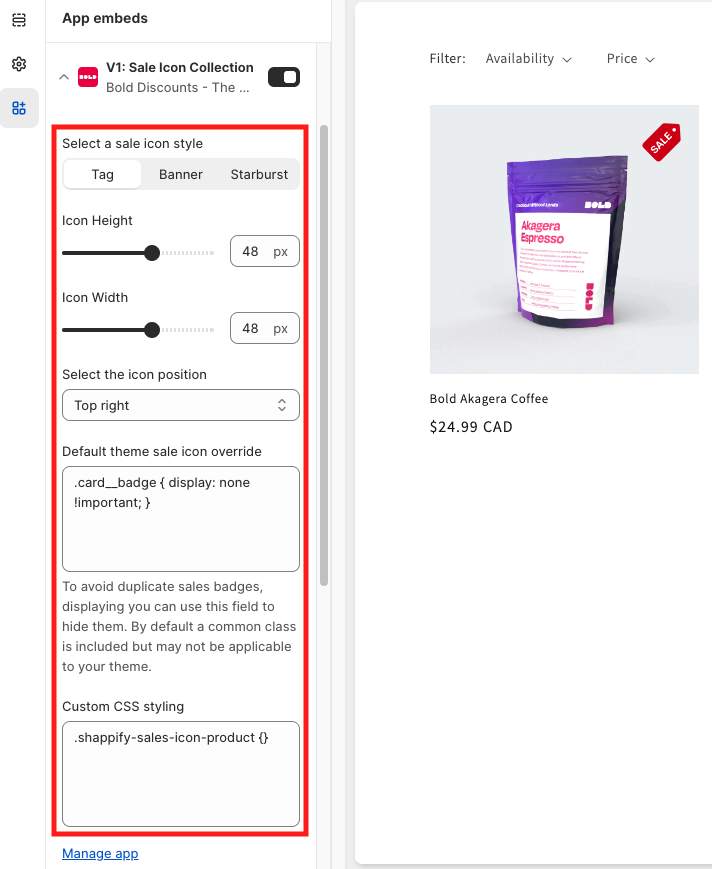
Optional: Click the arrow next to V1: Sale Icon Collection to expand the settings and customize your sales icon as needed.
Note: For more details, please visit Customize Sales Icons and Clock in Bold Discounts.
Click Save.

Sales Clock
The instructions to install the Sales Clock (countdown timer) depend on whether you are using a Shopify Online 2.0 theme or a vintage theme. Use the instructions below based on your theme version.
Alert: If you are unsure of your theme version, please refer to Shopify's help article Theme architecture and versions.
Install the Sales Clock on an Online 2.0 theme
From your Shopify admin, navigate to Online Store > Themes.
Click on the Customize button beside the theme you would like to add the sales clock to.
From the template menu, select a product template.
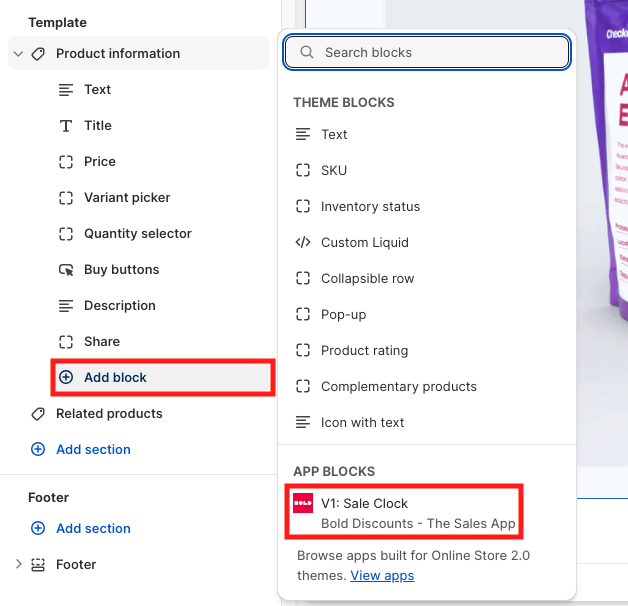
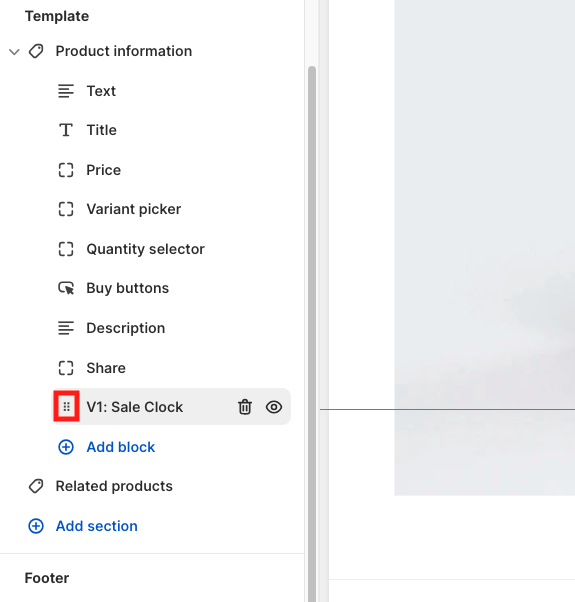
Click Add block on the left side panel and select V1: Sale Clock.
Optional: Click and drag the V1: Sale Clock app embed up or down the template page to change its placement on the page.
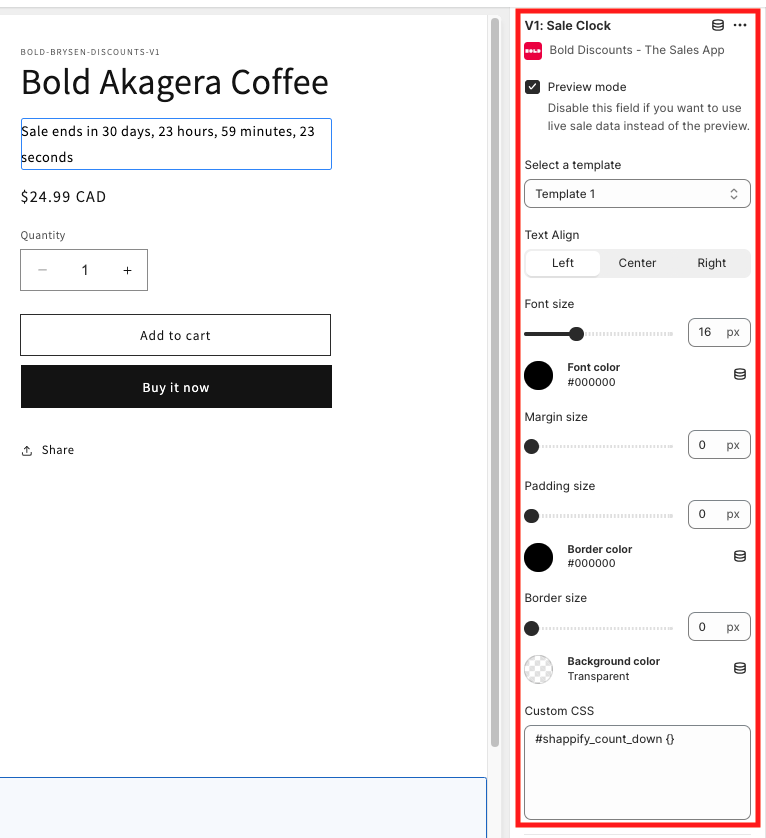
Optional: Click the V1: Sale Clock app block to expand the settings on the side of the page, and customize your sales clock using the settings as needed:
Note: For more details, please visit Customize Sales Icons and Clock in Bold Discounts.
Click Save.
Install the Sales Clock on a Vintage Theme
Step 1: Add Snippet File
From the Shopify admin, select Online Store.
Select Actions.
Duplicate the theme you would like the installation completed on.
Select Edit Code on the duplicated theme.
Under Snippets, find the shappify-sales-clock.liquid file.
If the file does not exist:
Select Add a new snippet.
Enter the correct snippet name.
Select Create snippet.
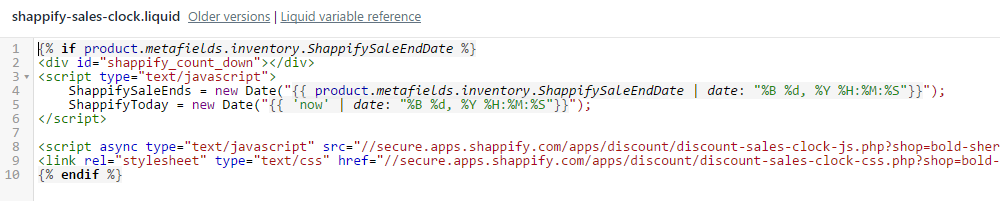
Copy and paste the shappify-sales-clock code into the file.
{% if product.metafields.inventory.ShappifySaleEndDate %}
<div id="shappify_count_down"></div>
<script type="text/javascript">
	ShappifySaleEnds = new Date("{{ product.metafields.inventory.ShappifySaleEndDate | date: "%B %d, %Y %H:%M:%S"}}");
	ShappifyToday = new Date("{{ 'now' | date: "%B %d, %Y %H:%M:%S"}}");
</script>

<script async type="text/javascript" src="//secure.apps.shappify.com/apps/discount/discount-sales-clock-js.php?shop={{ shop.permanent_domain }}"></script>
<link rel="stylesheet" type="text/css" href="//secure.apps.shappify.com/apps/discount/discount-sales-clock-css.php?shop={{ shop.permanent_domain }}" />
{% endif %}
Select Save.
Step 2: Place the Sales Clock
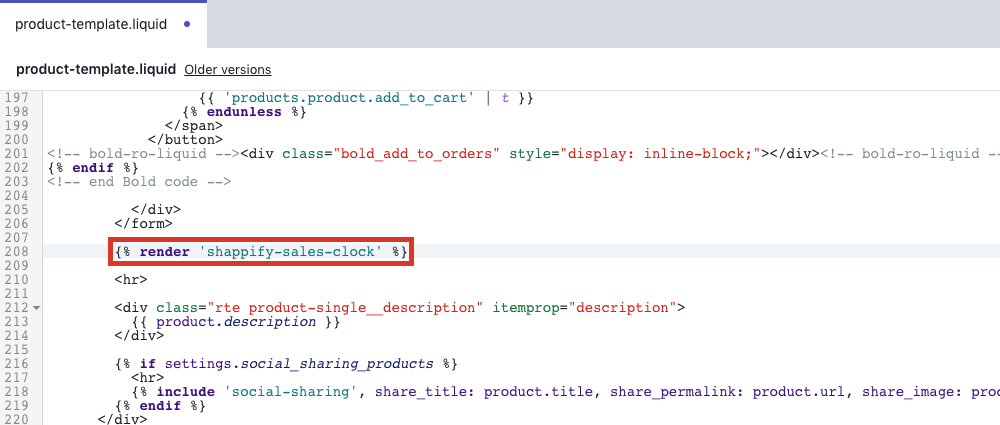
Under Templates, select product.liquid.
Note: If your theme contains Sections, you may find this code within product-template.liquid under Sections instead.
Copy and paste this code where you would like the countdown timer to appear:
{% render 'shappify-sales-clock' %}Note: This code can be placed anywhere, but we recommend it be placed above the product title, below the product price or the Add to Cart button.
Select Save.
Install Duplicate & Hide
From your Shopify admin, navigate to Online Store > Themes.
Click on the Customize button beside the theme you would like to add the Duplicate & Hide functionality to.
Click App embeds from the left sidebar.
Enable the V1: Duplicate & Hide app embed for your theme by sliding the toggle to the right.
Click Save.
Click the arrow next to V1: Duplicate & Hide to expand the settings.
Adjust the following settings as needed:
Note: By default, these settings contain information relevant to the Dawn theme.
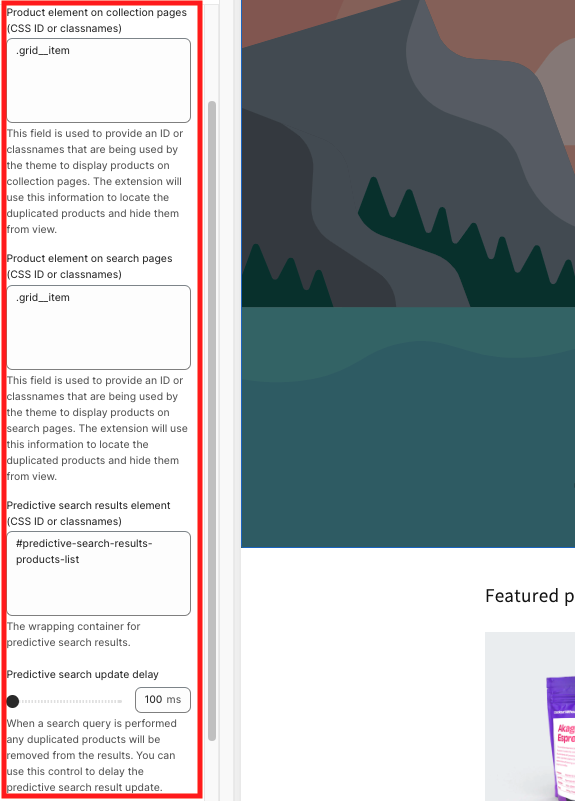
Product element on collection pages - Enter the CSS class name of the product image or element for all collection pages. This setting hides duplicated products created from Bold Discounts from all collection pages.
Product element on search pages - Enter the CSS class name of the product image or element for the search page. This setting hides duplicated products created by Bold Discounts from all search pages.
Predictive search results element - Enter the CSS class name of the product image or element for the predictive search result page. This setting hides duplicated products created by Bold Discounts from the predictive search results.
Predictive search update delay - Use this slider to add a delay (in milliseconds) to the predictive product results display. You can use this in the event that duplicated products are visible in search results.
Click Save.