Auto-Tagging Rules & Country-Specific Pricing
If you have the Standard or Complete plan in Custom Pricing, you can automatically tag your customers based on their shipping or billing country or by order history (product purchased, money spent, or number of orders). When an auto-tag rule has been met for a customer, the tag is applied to the customer's account on the next batch cycle. A batch cycle runs once per day at 12:00 AM, CST.
Note: Customers do not receive their discount on the order that meets the conditions. The tag is added after the purchase that meets the conditions—after the next batch cycle. When auto-tagging by Product, the tag is applied within five minutes after the product is purchased.
Customers tagging priority is determined by the order of your tags. You can also set up emails to automatically notify your customers when they are tagged into a new group to let them know when qualify for a new pricing.
This guide shows you how to configure auto-tagging rules, set up email notifications, and adjust your tag rank priority.
Set up auto-tagging rules
These instructions show you how to configure auto-tagging rules on an existing tag. If you haven't yet created your tag, please visit Create, Edit or Delete Customer Tags for step-by-step instructions.
In Custom Pricing, select Manage Tags.
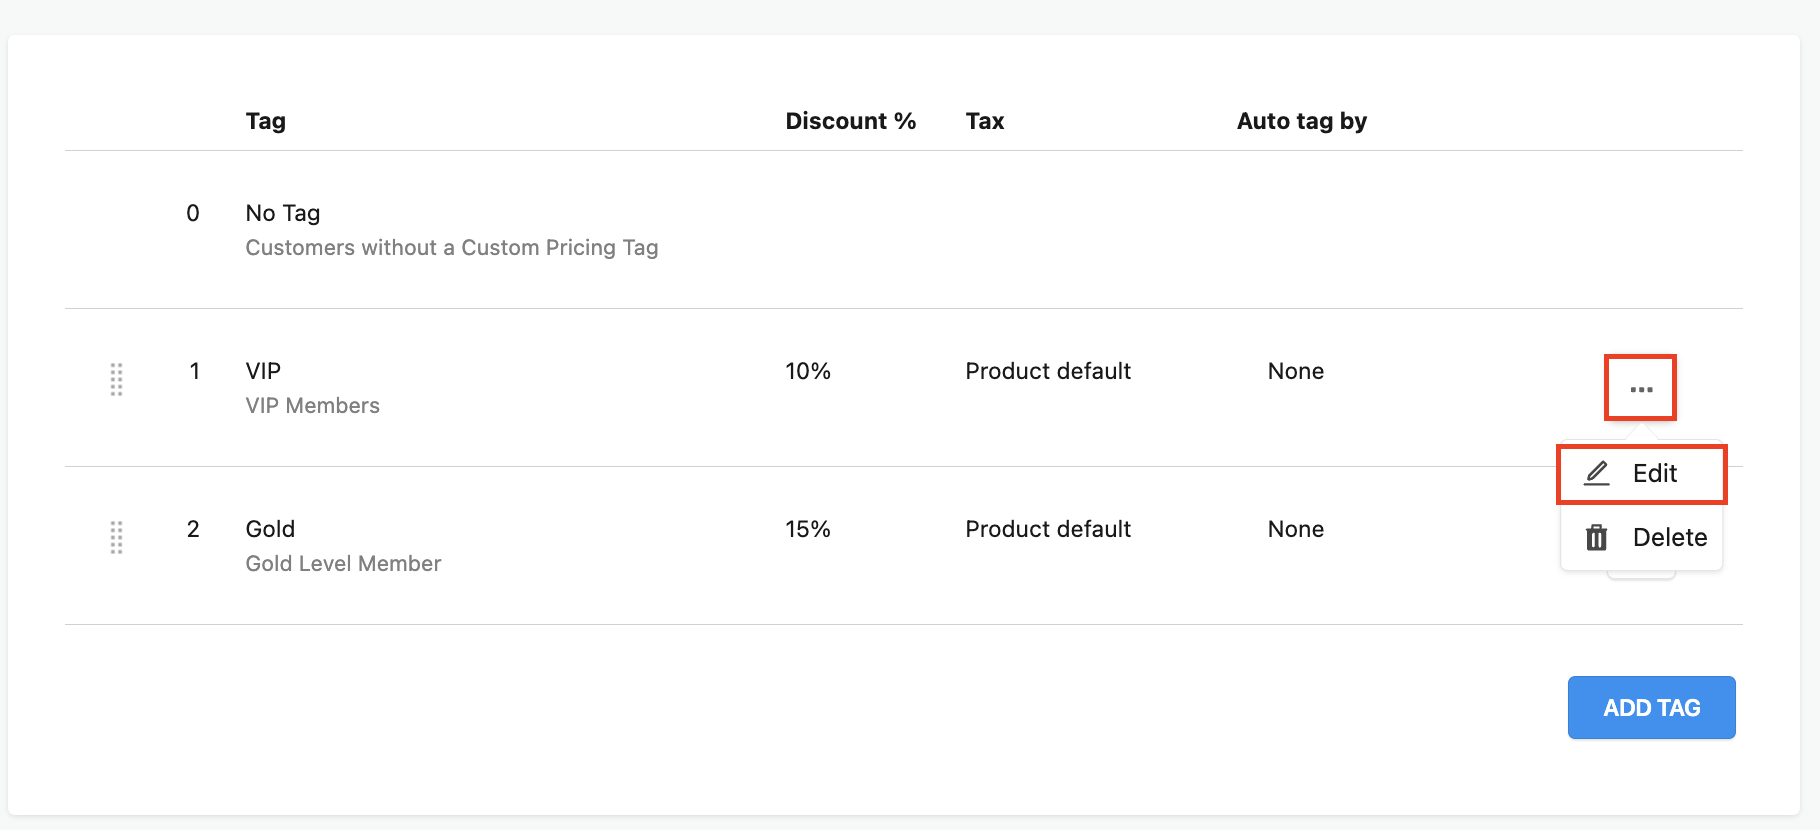
Select the ellipsis (three dots) beside the tag you want to adjust, then select Edit.
Expand the Auto tag by dropdown menu and select History, Country, or Product.
Click Add (or Modify if editing an existing tag).
Follow the instructions below depending on the Auto tag by rule you choose:
History
Expand the first dropdown menu and select Money spent or Number of orders.
Expand the second dropdown menu and select is equal to, is less than or is greater than.
Enter a number to represent the dollar amount or number of orders needed.
Select the plus symbol and repeat Steps 1-4 until all your conditions are satisfied for this tag.
Click Done.
Click the checkmark to save the changes.
Country
Select Billing Address or Shipping Address.
Expand the dropdown menu and select a country.
Click the plus symbol and repeat Steps 1-4 until all your desired countries are added.
Click Done.
Select the checkmark to save the changes.
Products
Use the product selector to find and select your desired products or variants.
Click Save Selection.
Click the checkmark to save the changes.
Set up auto-tagging emails
In Custom Pricing, navigate to Settings > Email.
Expand the dropdown menu under Tags, select your desired tag.
Select the checkbox next to Check if you want an email to be sent.
Enter an email in the From Email box.
Note: This is the email that customers will see when they receive something from you.
Fill in the Email Subject.
Click File, then New document.
Fill in the body of the email template with the content you would like to send to your customers.
Click Save.
Repeat Steps 2-8 for all other tags.

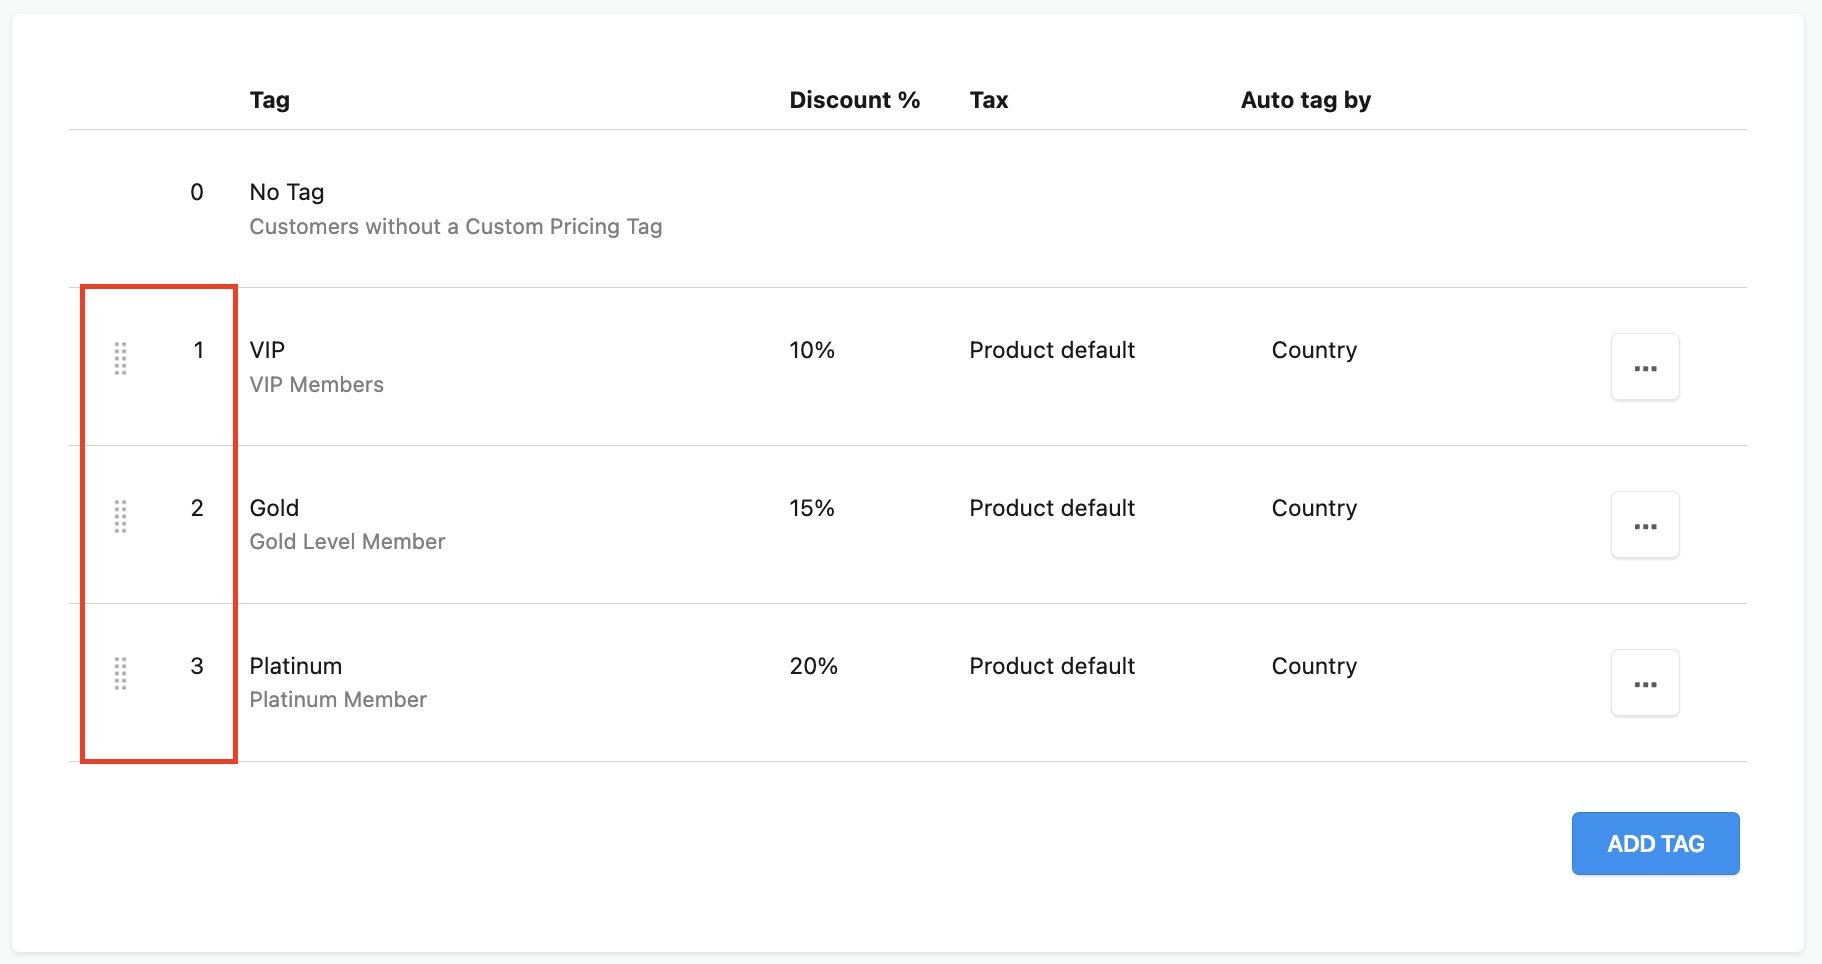
Auto-tag prioritization
When a customer account is auto-tagged, all other tags applied to the their account by Custom Pricing are removed.
Auto-tag rules are ranked in priority. If the new tag ranks higher than the older one, the new one replaces the older tag. If the new tag ranks lower than the old tag, the new tag doesn't get applied.
To change the ranking order, drag and drop the tags above or below each other from the left-hand side on the Manage Tags page: