Activate Custom Pricing
Custom Pricing offers in-app onboarding guide to help you quickly activate Custom Pricing on your store. These steps helps you install Custom Pricing to your theme and configure all features available with your selected plan.
If you prefer to manually install Custom Pricing, please visit Installation Guide for Custom Pricing.
Setup
After you add Bold Custom Pricing to your Shopify store, please follow the onboarding guide that appears in the Custom Pricing admin to install and configure Custom Pricing.
Some steps are not needed for some plans.
Step 1: Book a FREE onboarding session
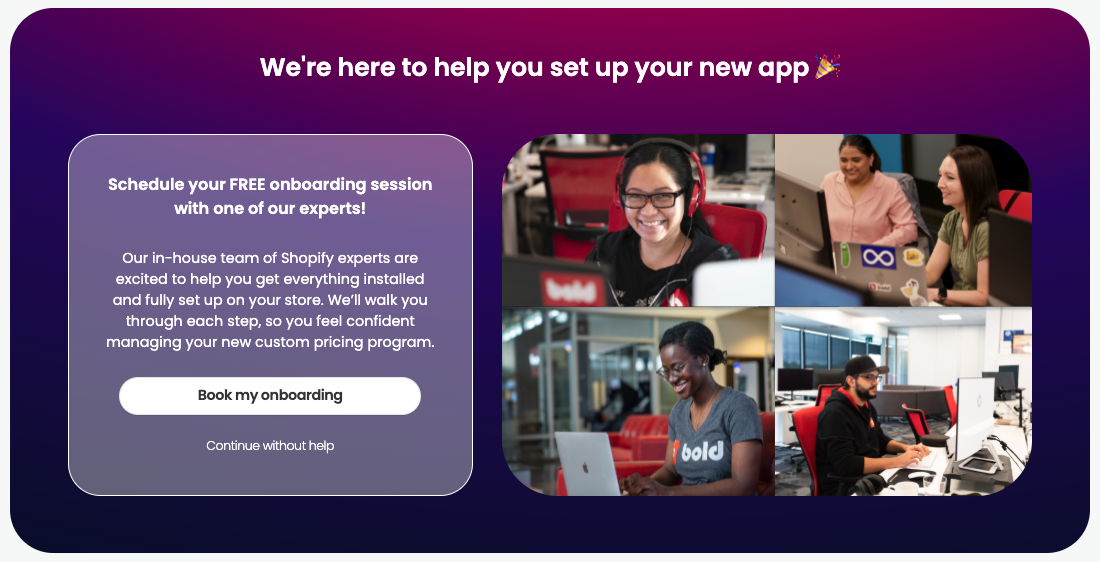
Once Custom Pricing is downloaded to your store and the subscription approved, you can book a free onboarding session with an expert from of our Customer Success team.
To book a conference call, follow the steps below.
Click the Book my onboarding button.
In the pop-up modal, select a date and time that work for you.
Click Next.
-
Fill out the form with your name, email, Shopify domain, goals, and Collaborator Request Code.
Note: You can find your collaborator access code in your Shopify admin by going to Settings > Users and permissions. For additional help, please visit Shopify's help center.
Click Schedule Event.
Close the window, and click Proceed To App.
If you do not want to book a call, click Continue without help.
Step 2: Select a plan
Select the plan that works best for your needs.
For more information about the features of each plan, please visit Custom Pricing Overing & Pricing.
Step 3: Turn on the Bold Custom Pricing app embed
Custom Pricing must be installed on your theme in order to work. The steps differ depending on whether you are using an Online Store 2.0 theme or a vintage theme.
-
Click Set Up.
-
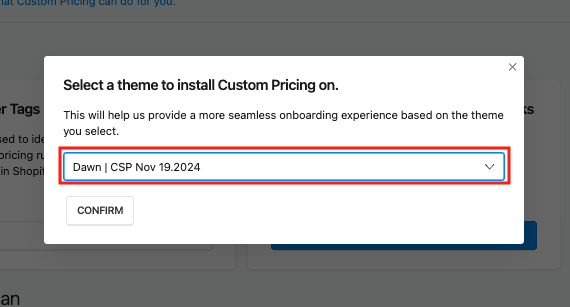
Select your theme using the drop-down menu.
Click Confirm.
- If an Online Store 2.0 theme is detected, your theme editor opens and automatically enables the Bold Custom Pricing app embed.
- Click Save in the top left corner.
- Return to the onboarding flow.
- If a vintage theme is detected, you are prompted to click Submit Request. This sends an install request to our expert team. Our team will complete the install and notify you by email when it’s done.
- If an Online Store 2.0 theme is detected, your theme editor opens and automatically enables the Bold Custom Pricing app embed.

Pro-Tip: If at anytime, you would like to see all steps, click the dropdown arrow in the top left of the onboarding steps

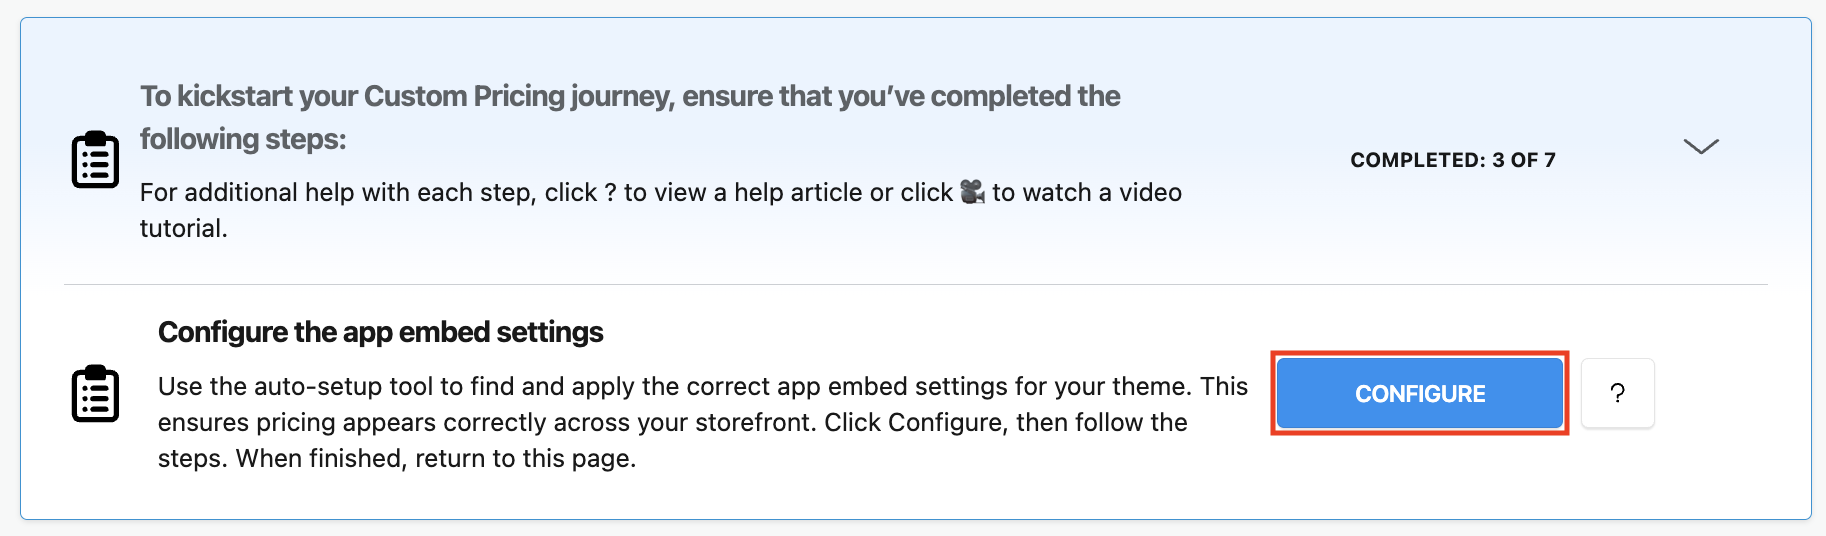
Step 4: Configure the app embed settings
-
Click Configure to launch the auto-setup tool. This can take a few minutes to complete. Do not close the window.
Once complete, click Copy and Proceed. This copies the required settings to your clipboard and directs you to the app embed settings in your theme editor.
-
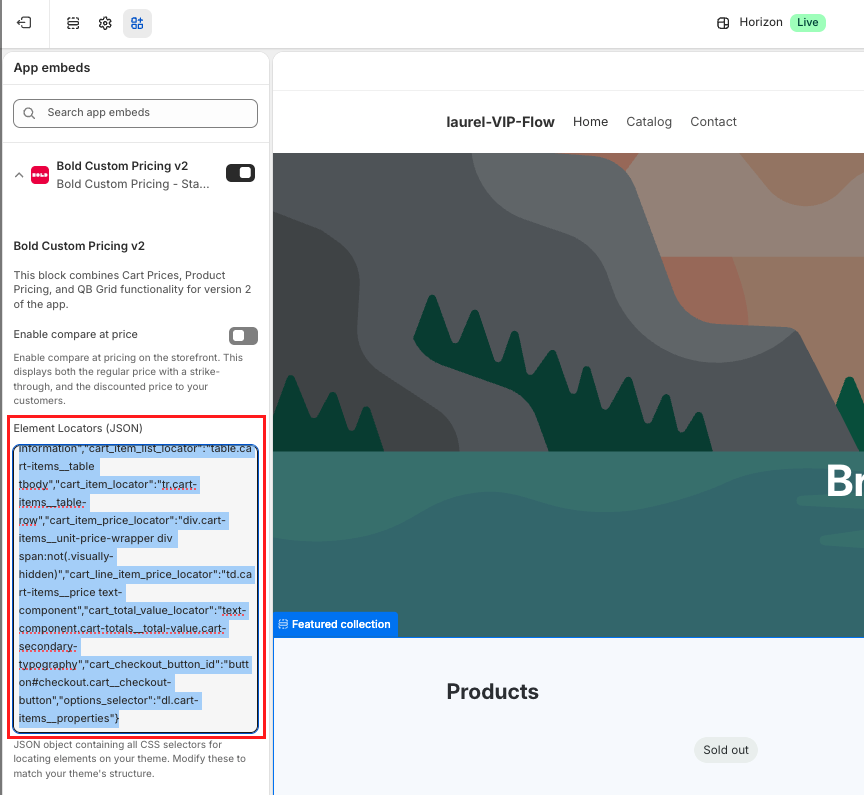
Paste the results into the Element Locators (JSON) setting.
Click Save in the top right corner.
Return to the onboarding flow.
Pro-tip: If the auto-setup tool did not get a chance to complete, you can click the Reset button. This brings back the Configure button so you can try again.

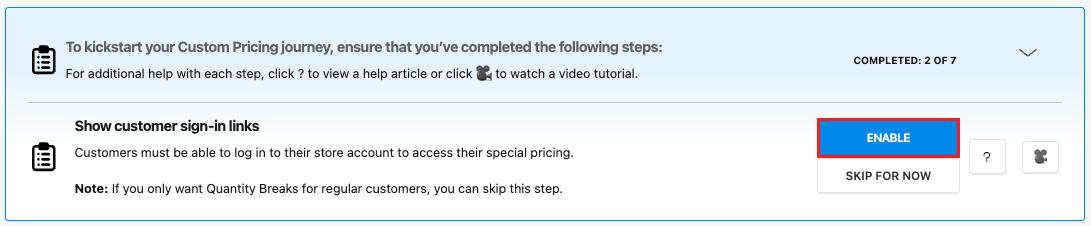
Step 5: Show customer sign-in links
Customers must be able to log into their store accounts to see and access their special pricing.
Note: If you only want to set up Quantity Breaks for regular customers, you can click skip this step.
-
Click Enable.
-
In Shopify, enable customer accounts on your store.
Note: For more information about managing Shopify customer accounts, please refer to Shopify’s Help Center.
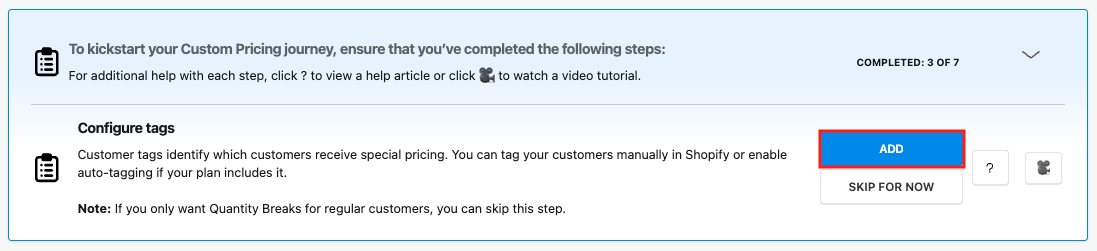
Step 6: Configure tags
Customer tags allow you to control which of your customers receive your special pricing rules.
Note: If you only want to set up Quantity Breaks for regular customers, you can skip this step.
-
Click Add.
-
Create a tag for each customer group that will receive special pricing.
Note: For more information on how to set up these tags and assign them to your customer accounts, please visit Create, Edit or Delete Customer Tags.
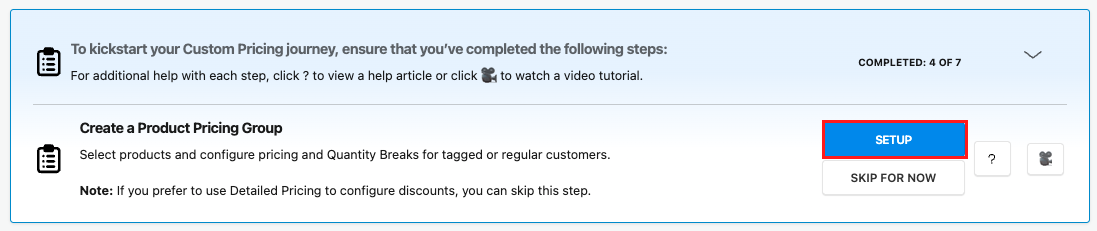
Step 7: Create a Product Pricing Group
Product Pricing Groups allow you to select products and configure pricing for each customer group by customer tag. You can also create Quantity Breaks discounts for regular or tagged customers.
If you are on the Complete plan and would like to use Detailed Pricing instead of Product Pricing Groups to set up your customer specific pricing, you can skip this step.
-
Click Setup.
-
Create your Product Pricing Groups.
Note: For more information on how to set up groups, please visit Create, Edit or Delete Product Pricing Groups.
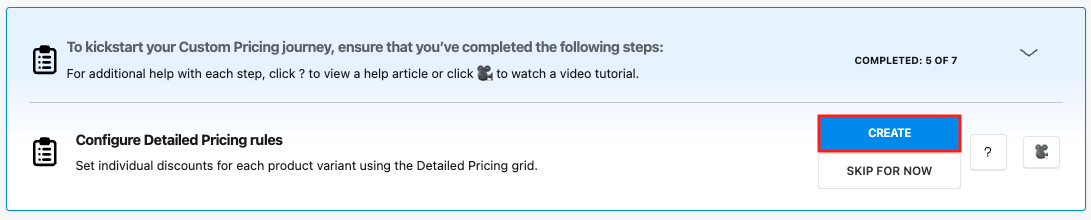
Step 8: Configure Detailed Pricing rules
If your plan includes it, you can set up individual discounts for each product variant and customer tag using the Detailed Pricing grid. If you prefer to use Product Pricing Groups, you can skip this step.
-
Click Create.
-
Create your Detailed Pricing rules.
Note: For instructions on how to set up your Detailed Pricing, please visit Create, Edit, or Delete Detailed Pricing.
Step 9: Integrate Custom Pricing with Shopify POS
If your plan includes it, you can quickly enable Custom Pricing for all your Shopify POS locations here.
Note: If you'd prefer to add it to specific locations only, click Skip For Now and please visit Custom Pricing & Shopify POS Integration for detailed instructions.
-
Click Shopify POS to open your Shopify admin POS settings.
-
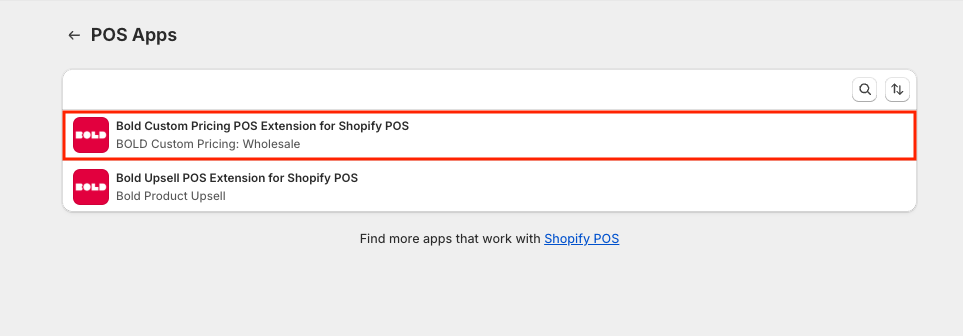
Click on the Bold Custom Pricing POS Extension for Shopify POS.
-
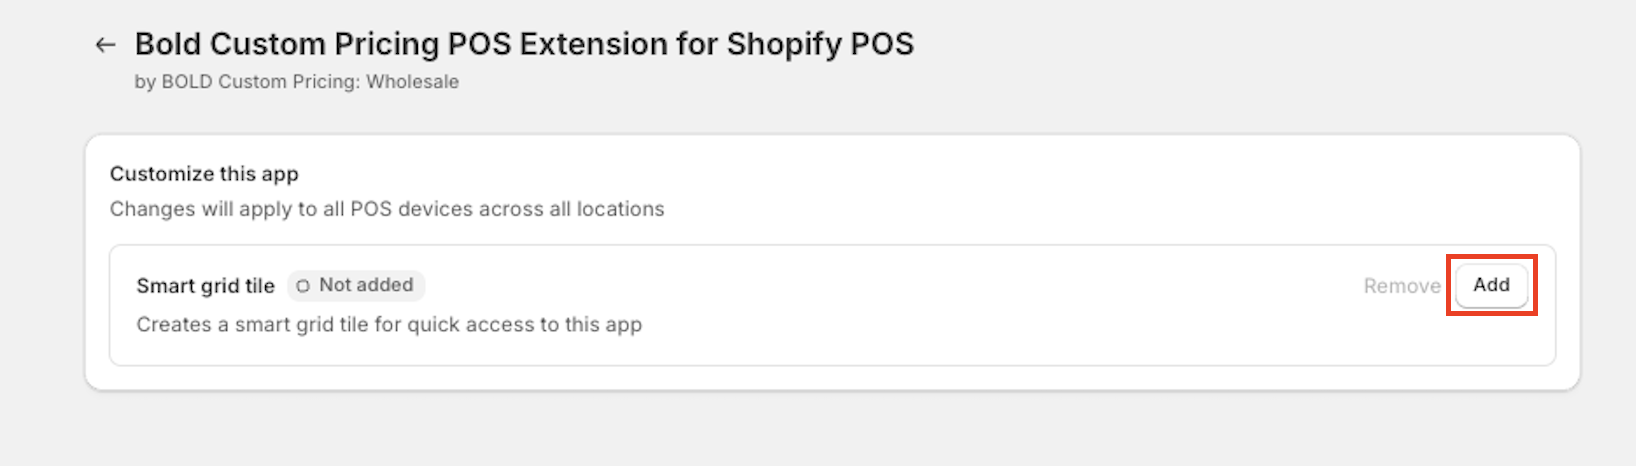
In the Smart grid tile, click Add.