Subscription Upsells
Subscriptions for Shopify Checkout integrates with Bold Upsell to allow you to convert a one-time purchase into a recurring subscription in the Upsell modal. This helps you increase your lifetime customer value.
Example
This article outlines the requirements of converting a one-time purchase to a subscription purchase as well as provides step-by-step instructions on how to create this kind of offer.
Requirements
Both Bold Upsell and Subscriptions for Shopify Checkout must be installed on your store. Both apps can be installed through the following links:
Setup
Note: This integration only allows you to convert a one-time purchase into a standard subscription using the Upsell feature. Converting a one-time purchase into a prepaid subscription or cross-selling a different subscription product are not supported at this time.
Video Walkthrough
With both apps installed, please follow the steps below to create your Upsell offer.
Step 1: Add the trigger product to a subscription group
In Bold Subscriptions, navigate to Subscription groups.
Click Create subscription group.
Enter a Group name.
Note: This is an internal name only. Your customers won't see this.
Click Select Products.
Click the checkbox beside the product you'd like to include in the group.
Click Confirm.
In the Subscription frequency section, use the following steps to create the frequencies you want to make available to your customers:
Note: All frequencies appear as selectable options in the upsell modal.
Under Add new frequency, enter a number, and expand the dropdown menu to select Day, Week, Month or Year.
Click Show advanced options and select one of the following options to configure when subscription orders should recur:
On purchase day: Orders recur based on the date of the initial purchase.
On specific day of the week/month: Orders recur on a specific day every week/month, regardless of the date of purchase.
Custom occurrence: Allows you to set up custom logic for when orders recur, such as on the first Monday of every month.
Note: The last two options offer Cutoff days. Read more about using cutoff days.
Enter a Frequency name.
Click Save Frequency.
Optional: Click Add new frequency and repeat steps 7a-7d for additional frequency intervals.
Optional: Enable Allow minimum order requirement and set a minimum amount of orders that must past before customers can cancel their subscription.
Note: Please ensure your use of this feature complies with local laws. Read more about minimum order requirements.
Optional: Enable Offer a discount for subscribing to provide a Subscribe & Save discount.
Enter a number and use the dropdown menu to select a discount type, Percent off (%) or Amount off ($).
Optional: Under Dynamic discounts, check the box next to Change discount after specific number of orders.
Note: Read more about dynamic discounts.
Click Save Changes.
Step 2: Create the offer in Upsell
In Bold Upsell, use one of the following paths to begin creating your offer:
From the Manual Offers page:
Click Create New Offer.
Enter an internal name for your offer.
Click Set a trigger.
From the Maximizers™ page:
Scroll down to the Customer Portal Upsell card, and click the Set up button.
Optional: Edit the internal name for your offer.
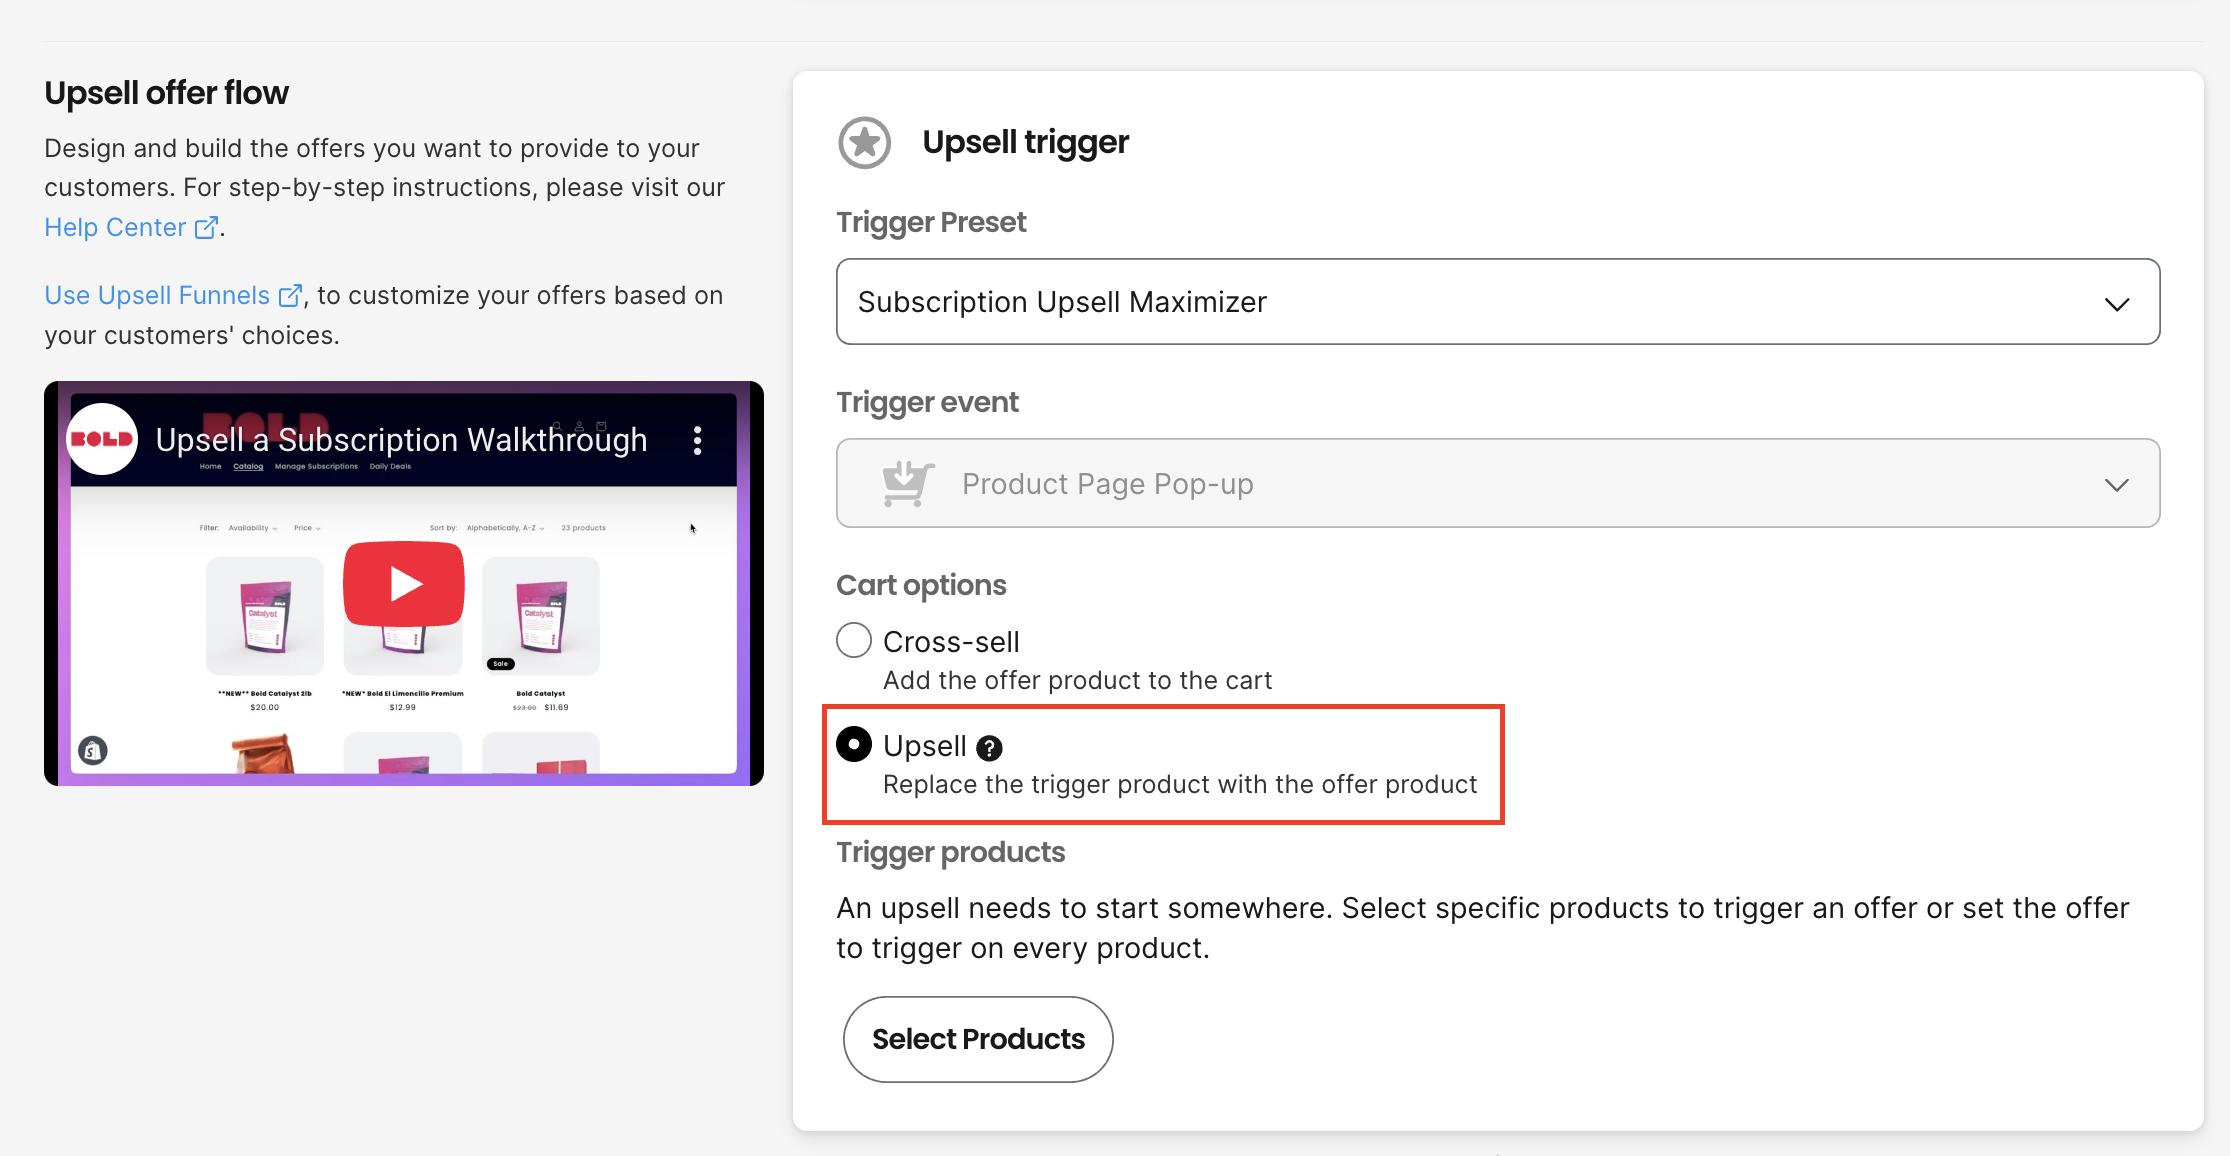
Ensure the Trigger Preset field is set to Subscription Email Upsell Maximizer.
Ensure Upsell is selected under Cart options.
Click Select Products, and select the product you have added to your subscription group.
Click Review Selection, then Save Selection.
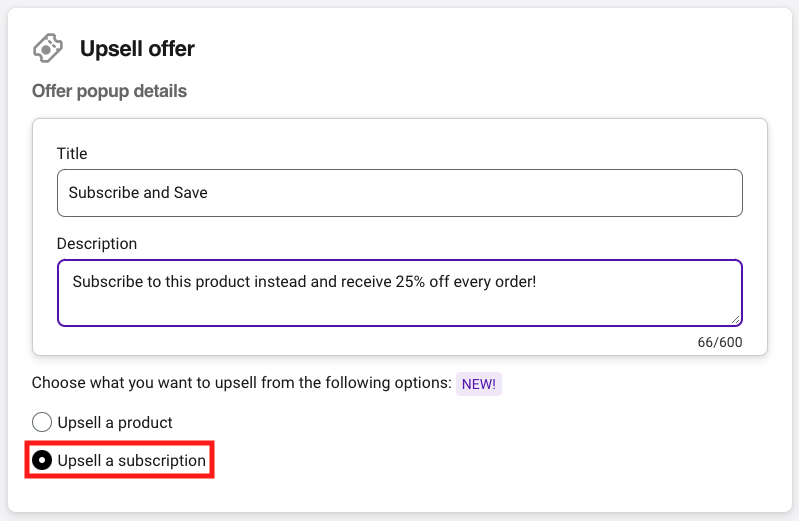
In the Upsell offer section, click Set an offer.
Enter a Title and Description.
Select Upsell a subscription.
Optional: Click Set date range, and enter a Start and End date.
Click Save Offer.